 how-to
How to Prevent Shin Splints with the Right Floor
Last Updated: October 30, 2026
Quick Summary
To prevent shin splints floors matter because hard surfaces return more force to the lower leg with every step. Sprung floors and landing mats absorb impact, while reducing high-impact volume and building up training load gradually lowers the stress further.
- Hard surfaces like concrete and tile return most impact force back up through the legs.
- A sprung floor gives broad, even cushioning across the training area.
- Where you cannot change the floor, dense padding at landing zones helps.
- Increase training load by no more than about 10 percent per week.
- Strengthen the shins and calves two to three times per week with toe raises and heel walks.
Table of Contents
- What Causes Shin Splints and Why Floors Matter
- Step 1: Assess Your Current Floor and Training Surface
- Step 2: Choose a Sprung Floor or Add Impact Absorption
- Step 3: Build a Warm-Up and Strengthening Routine
- Step 4: Progress Training Load Gradually
- Common Mistakes That Keep Shin Pain Coming Back
- Returning to Training After Shin Splints
- Booking a Floor Assessment for Your Facility
- Frequently Asked Questions
What Causes Shin Splints and Why Floors Matter
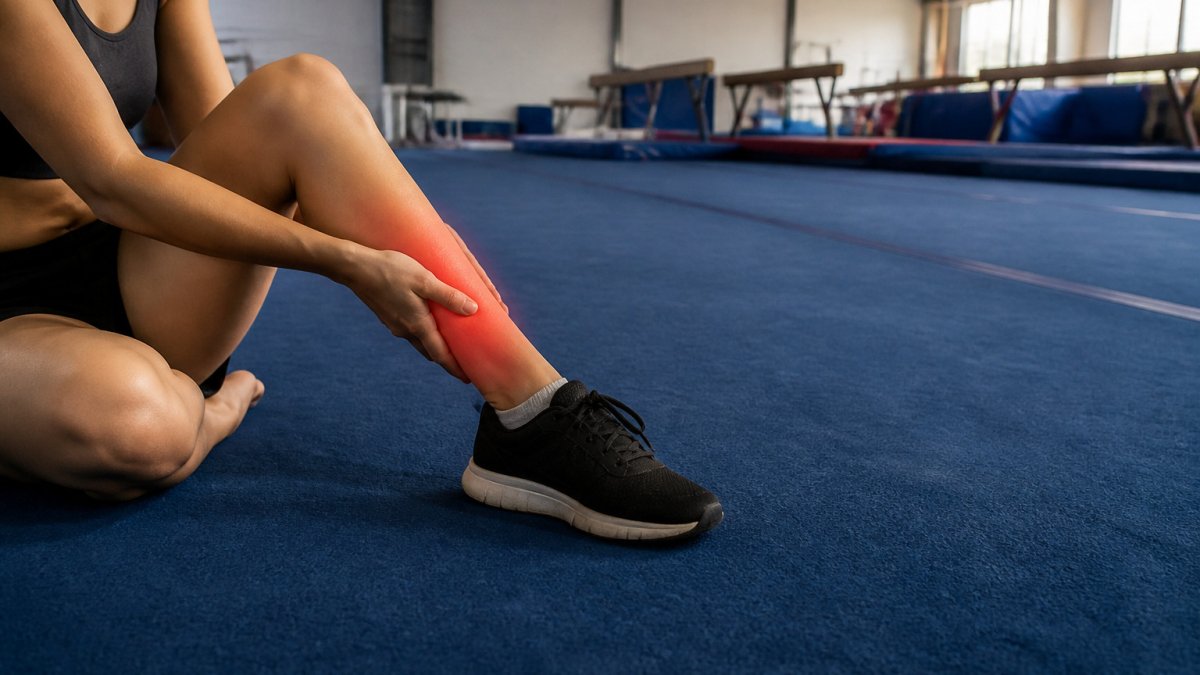
Shin splints, known medically as medial tibial stress syndrome, cause pain along the inner edge of the shinbone. Repeated stress on the tibia and the muscles around it usually triggers the pain.
The surface you train on plays a real role. Hard, unforgiving floors send more force back through the legs with every landing or step. Over hundreds of repetitions, that repeated impact adds up.
- Repetitive impact is the main driver of shin pain
- Hard surfaces return more force to the lower leg
- Sudden increases in training load make pain more likely
- Flooring is one factor you can often control
Step 1: Assess Your Current Floor and Training Surface
Start by looking at what you already train on. Check whether the floor feels firm, flat, and consistent under your feet. Note where you do most of your jumping, running, and standing.
Write down three things: the floor material, the thickness of any padding, and how often you train on it each week. This gives you a baseline before you change anything.
How common surfaces compare
No single surface causes or prevents shin splints on its own. Training volume, footwear, and how quickly you progress matter at least as much. Still, surfaces differ in how much force they return to the lower leg, and that difference is worth understanding.
- Concrete and tile: Very firm and consistent. They return most of the impact force back up through the leg, which is why long sessions of repeated jumping or running on them can feel harsh. They are common in gyms, hallways, and multipurpose rooms.
- Asphalt and outdoor pavement: Firm but slightly more forgiving than finished concrete. Camber, cracks, and uneven patches add small stability demands that can accumulate over a long run.
- Rubberized running tracks: Engineered to have some give while staying fast and consistent. Many runners find them easier on the legs than pavement, though the benefit depends on the specific track.
- Treadmills: The belt has some compliance, but the deck underneath is firm. Incline and speed change the load more than the belt does. Treadmill running is not automatically softer than outdoor running.
- Grass and natural turf: Softer underfoot but often uneven. The irregular surface can increase ankle and lower-leg demand, so softer does not always mean lower risk.
- Sprung and padded indoor floors: Built to deflect under load and spread cushioning across the training area. These are common in gymnastics, dance, martial arts, and cheer facilities where repeated landings are routine.
- Thin mats over hard floors: A common compromise. They help at landing zones but do little if the mat is thin or shifts underfoot.
Signs the surface is too hard or uneven
Watch for these warning signs during and after training:
- Shin pain that appears during landings or repeated jumps
- Pain that gets worse on concrete, tile, or thin mats
- Soreness that lingers for more than a day after sessions
- Uneven spots or loose boards that shift under your feet
- Feeling every impact up through your heels and knees
If you notice these, the surface may be adding to your load. Reduce high-impact drills on that floor until you have a plan.
What the evidence does and does not show
Surface hardness is often described as a direct cause of shin pain, but the research picture is more nuanced. Studies of running surfaces have produced mixed results, and many compare small groups over short periods.
A practical way to think about it: a hard floor raises the load per repetition, and high volume multiplies that load. Either one alone may be tolerable; together they are more likely to push the lower leg past what it can recover from.
Step 2: Choose a Sprung Floor or Add Impact Absorption
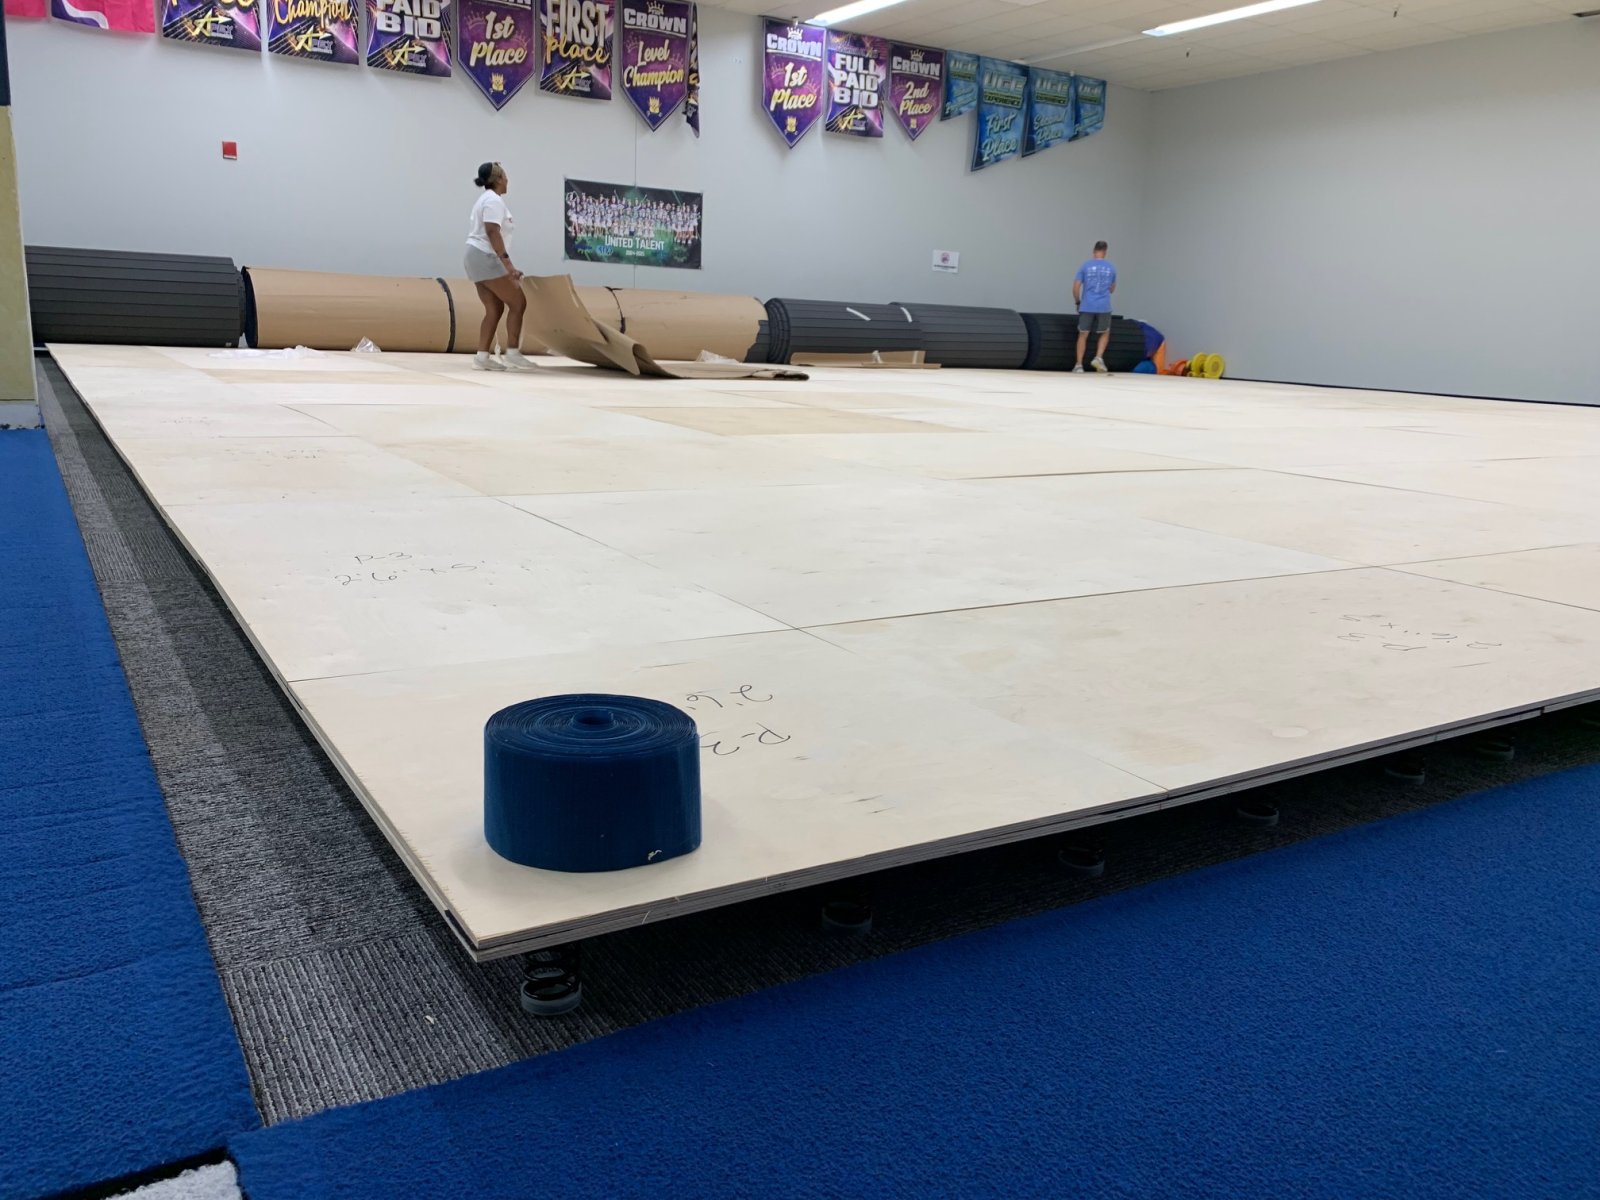
A sprung floor is built on springs or a suspended frame that give slightly under weight. Glory and Power Enterprises manufactures competition spring floors and sprung dance floors for cheerleading, gymnastics, martial arts, and dance.
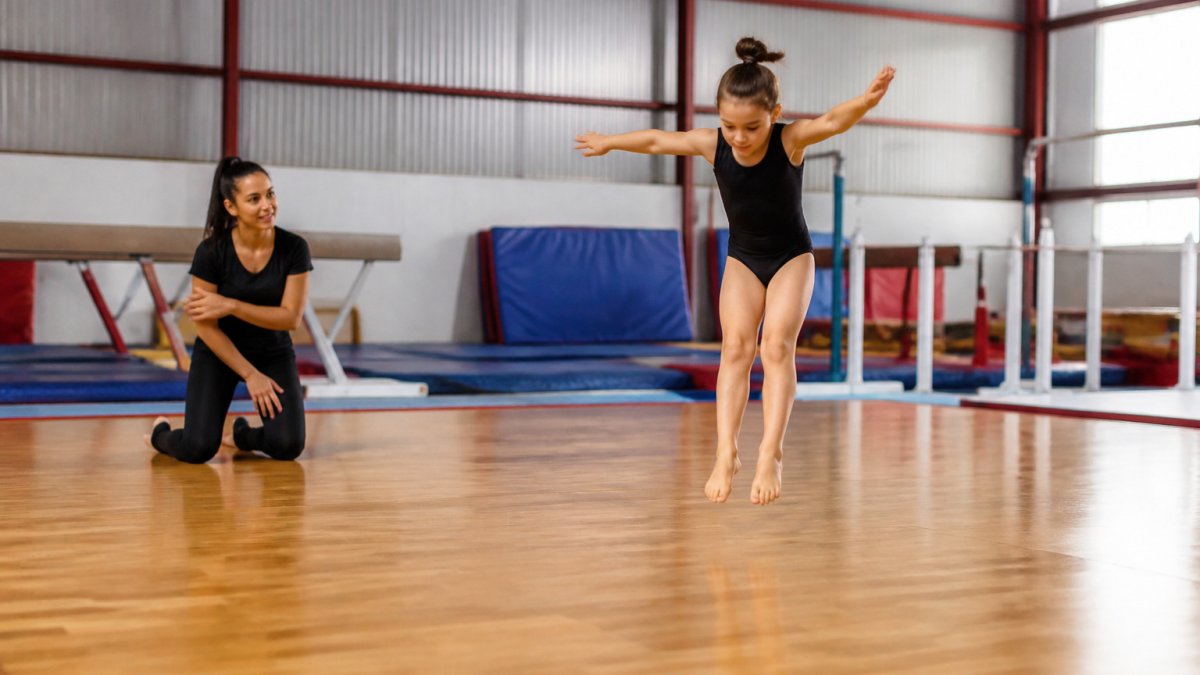
If a full sprung floor is not possible, you can still add impact absorption. Options include thick landing mats, carpet bonded foam, and dense padded flooring.
Sprung floors are not the only answer. Some facilities do well with well-padded mats placed over a firm base. Match the solution to your training volume and your budget.
- Sprung floors give broad, even cushioning across the training area
- Landing mats work best for specific high-impact zones
- Foam and bonded flooring suit lighter, mixed-use spaces
Compare the options with a sprung floor vs foam mats comparison guide before you decide. For a deeper look at the full range of methods to prevent shin splints floors can contribute to, read this complete guide to reducing gym floor impact.
For a setup guide covering small training spaces, see setup guidance for sprung floors in small training spaces.
If you cannot change the floor
Most people train in spaces they do not own or cannot renovate. You can still reduce the load on your shins without a new floor:
- Cut high-impact volume first. Shorten jump or sprint blocks and add low-impact work in their place. A smaller number of quality landings beats a long session of tired ones.
- Alternate surfaces across the week. Mix a track day, a grass day, and an indoor day where possible. Variety spreads the load rather than concentrating it on one surface.
- Use portable padding at landing zones. A dense mat under the takeoff and landing area helps even when the rest of the floor stays hard.
- Match footwear to the surface. Cushioned shoes help on firm indoor floors; firmer, more stable shoes suit softer or uneven ground. Replace worn shoes before the midsole breaks down.
- Schedule hard days apart. Put at least one lighter day between high-impact sessions so the lower leg has time to recover.
- Warm up on the surface you will use. Cold muscles on a hard floor are a common recipe for a rough session.
Indoor sports and standing on hard floors
Shin pain is not only a running problem. Repeated jumping in dance, martial arts, cheer, and court sports, and long hours standing or walking on hard workplace floors, can produce similar overload. For indoor sport, prioritize padding at landing zones and limit total jump volume per session. For standing work, anti-fatigue mats, supportive shoes, and short movement breaks help reduce the cumulative load.
Step 3: Build a Warm-Up and Strengthening Routine
Good flooring reduces load, but your body still needs preparation. A simple routine can build the muscles that support the shins and calves.
Use this weekly plan as a starting point:
- Warm up for 5 to 10 minutes with easy movement, such as walking or marching
- Stretch the calves and lower legs for 30 seconds per side
- Do toe raises and heel walks to strengthen the shins and calves
- Add band walking and side steps to build hip and ankle stability
- Finish with light lunges and controlled single-leg balance work
Perform strengthening work two to three times per week. Increase reps slowly as the muscles adapt.
Cross-training also helps. Low-impact options such as cycling or swimming let you keep fitness up while the shins recover.
Step 4: Progress Training Load Gradually
Most shin pain starts with doing too much too soon. Increase distance, speed, or jump volume by small amounts each week. A common guideline is to avoid raising total weekly load by more than about 10 percent, though individual tolerance varies.
Keep these rules in mind:
- Change only one variable at a time, such as distance or intensity
- Add a rest day after two hard sessions
- Reduce volume when pain starts rather than pushing through it
- Build up on the best surface you have before adding new drills
Wear supportive, well-fitted footwear for training. Replace worn shoes before the cushioning breaks down.
Common Mistakes That Keep Shin Pain Coming Back
Several habits repeatedly cause problems. Watch for these:
- Returning to full training before the pain has fully settled
- Ignoring the floor and changing only shoes
- Jumping on hard surfaces for long sessions without breaks
- Skipping the warm-up on cold mornings
- Adding new high-impact drills all at once
- Stretching the calves but never strengthening them
A common mistake is treating shin pain as a minor issue and training through it. Persistent or sharp pain deserves a professional opinion.
Returning to Training After Shin Splints
Recovery should be gradual. Start with low-impact activity such as cycling or swimming while pain is present. When walking is pain-free, add light running on a softer surface.
A simple return plan looks like this:
- Days 1 to 7: Low-impact cardio, no jumping, gentle calf stretches
- Days 8 to 14: Short walk-run intervals on a sprung or padded surface
- Days 15 to 21: Gradually increase running time, keep intensity low
- Week 4 onward: Resume normal training if no pain returns
If pain returns at any stage, drop back to the previous step. Shin pain can also signal stress fractures or other conditions, so see a healthcare provider if pain is severe, localized to one spot, or does not improve with rest.
Booking a Floor Assessment for Your Facility
If you run a gym, studio, or training space, the floor is a long-term investment in athlete health. Planning the layout before installation makes a big difference in how the space performs.
Glory and Power Enterprises can help you plan your space before purchase, so cushioning can be matched to each training zone. To discuss your space, reach out to Glory and Power Enterprises for a consultation and a quote.
Frequently Asked Questions
How can I prevent shin splints?
Prevention comes down to four habits: increase running distance, speed and jumping volume gradually rather than all at once, wear supportive footwear suited to your activity, warm up before training, and strengthen the calves, shins and hips. Surface matters too. Training on a sprung or impact-absorbing floor reduces the repeated shock that loads the lower leg, while frequent work on hard concrete or thin mats increases it. If you notice pain developing, reduce volume before it becomes a stress injury, and see a healthcare provider if pain persists.
Can a hard floor contribute to shin splints?
Yes. Hard surfaces such as concrete and thin mats transmit more impact force into the shins with every landing or stride, and that repeated load can contribute to overuse. Adding cushioning or training on a sprung floor reduces that impact. Floors do not cause shin splints alone, though. Training load, footwear and running form interact with surface, so a floor change works best alongside a gradual progression plan.
What could be causing shin pain when I walk?
Pain on walking can come from several sources, including shin splints (medial tibial stress syndrome), a stress fracture, or compartment or nerve problems. Shin splints usually cause a dull, spread-out ache along the inner shin that eases with rest. A stress fracture tends to produce pain pinpointed to one spot that worsens with activity and may persist at rest. Because the causes differ, any pain that is severe, localized, or present at night should be evaluated by a doctor or physical therapist.
How should I return to training after shin splints?
Return in stages. Once pain is gone at rest and with walking, begin low-impact work such as cycling or swimming. Next, introduce brisk walking and light running intervals on a forgiving surface, adding time each session only if pain stays absent during and the next morning. Keep strengthening calf and shin exercises going throughout. If pain returns at any stage, drop back to the previous level. Increase intensity and surface hardness last.