 how-to
How to Prevent Athlete Joint Injuries: A 7-Step Plan
Last Updated: October 23, 2026
Quick Summary
Prevent athlete joint injuries with a dynamic warm-up before every session, joint injury prevention exercises two or three times weekly, and gradual training load progression of no more than about ten percent per week. Add proper landing technique, strength work, and consistent recovery to protect joints all season.
- Warm up dynamically before practice and save long static stretches for afterward.
- Do 15 to 20 minutes of targeted prevention work two or three sessions per week.
- Raise weekly training load by no more than about ten percent over the previous week.
- Teach athletes to land with knees over toes and never caving inward.
- Cut planned load by roughly a third when two of three readiness signals are poor.
Table of Contents
- Step 1: Build Your Athlete Warm-Up Routine Before Every Session
- Step 2: Add Joint Injury Prevention Exercises to Weekly Training
- Step 3: Use ACL Injury Prevention Exercises for Cutting and Landing Sports
- Step 4: Strength Training and Conditioning That Protect Joint Stability
- Step 5: Teach Proper Form, Technique, and Neuromuscular Control
- Step 6: Monitor Training Load and Progress Gradually
- Step 7: Support Sports Recovery and Joint Health All Season
- Conclusion
- Frequently Asked Questions
Step 1: Build Your Athlete Warm-Up Routine Before Every Session
A proper athlete warm-up routine is the first defense against athlete joint injuries. It raises muscle temperature, wakes up the nervous system, and prepares joints for the loads ahead.
Cold tissue tears. Warm tissue stretches. That difference matters more than most coaches admit.
A dynamic warm-up beats static stretching before training. Save the long holds for after practice. Before practice, move through the full range of motion under control.
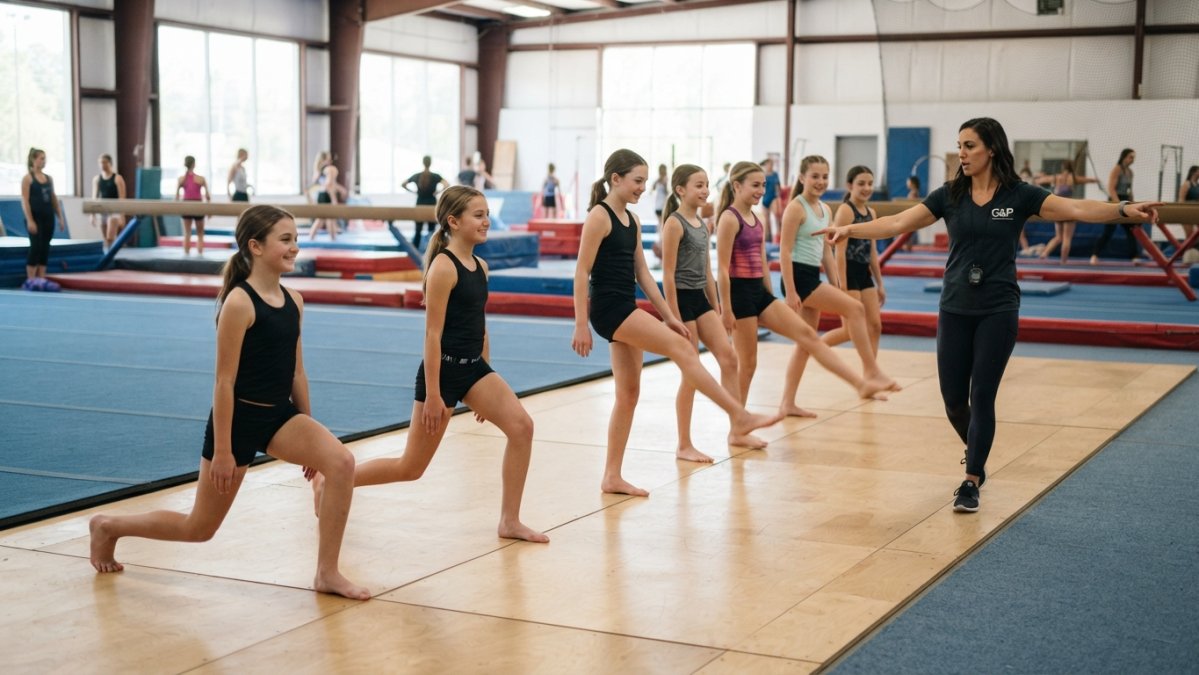
A simple routine that works:
- Five minutes of light jogging or jumping jacks
- Leg swings, front to back and side to side
- Walking lunges with a twist
- Arm circles and shoulder rolls
- Ankle circles and calf raises
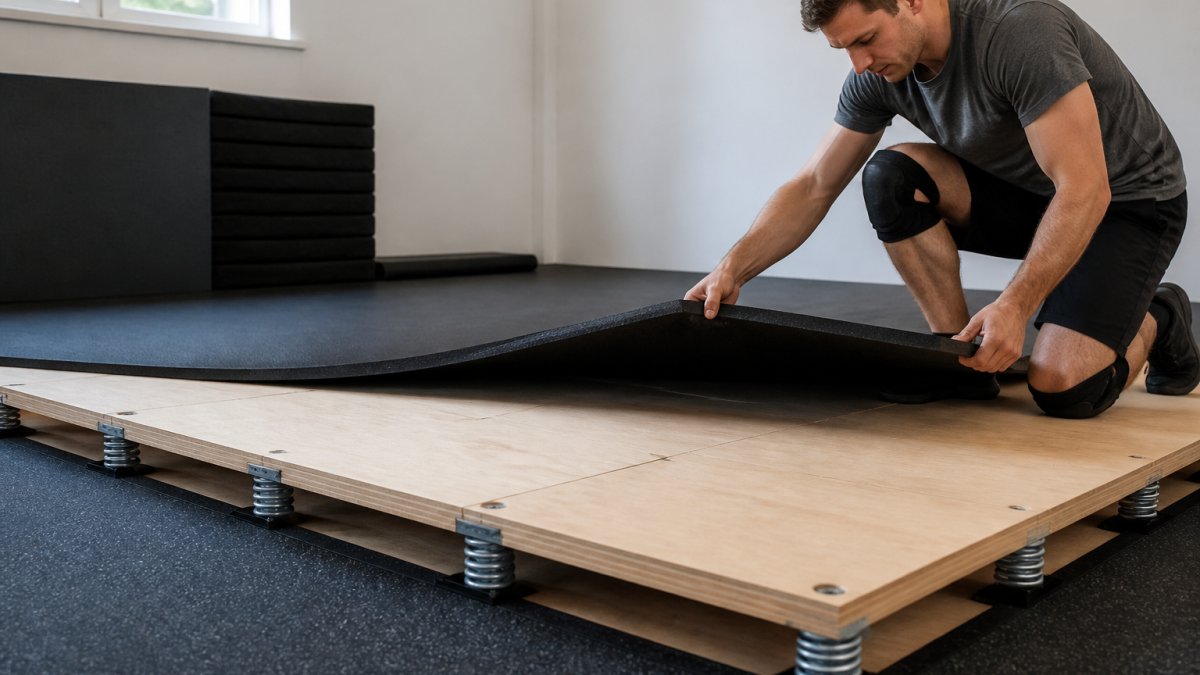
The floor under an athlete's feet shapes how safe that warm-up really is. Glory and Power Enterprises builds competition spring floors with two-layer Baltic birch construction and power springs. That setup absorbs impact instead of sending it straight into knees and ankles.
Step 2: Add Joint Injury Prevention Exercises to Weekly Training
Joint injury prevention exercises work best when they become a habit, not a once-a-month add-on. Two or three short sessions per week beat one long session, and most practitioners find that 15 to 20 minutes per session is enough when the work is targeted.
The goal is simple: build the muscles that guard each joint. Strong hips protect knees. Strong ankles protect everything above them. But "strong" only helps if the dosage is right, so treat the table below as a starting template and progress one variable at a time.
| Exercise | Target Joint | Sets x Reps | Frequency | Progression Cue |
|---|---|---|---|---|
| Single-leg balance holds | Ankle, knee | 3 x 30 seconds each side | 3x per week | Eyes closed, then unstable surface |
| Hip abductor band walks | Hip, knee | 3 x 10 steps each direction | 3x per week | Heavier band, slower tempo |
| Calf raises | Ankle | 3 x 12 to 15 | 2x per week | Single-leg, then added load |
| Nordic hamstring curls | Knee | 2 x 5 to 8 | 2x per week | Increase range before reps |
| Shoulder external rotations | Shoulder | 2 x 12 to 15 | 2x per week | Light band to cable, slow eccentric |
Keep sets short and quality high. Sloppy reps build sloppy joints. A good rule is to stop a set when form breaks, not when the rep count is hit.
Joint-by-joint priorities. Knees respond best to hip and quad control work, so pair band walks with split squats and soft landings. Ankles need balance and calf endurance, which is why single-leg holds and calf raises belong together. Hips benefit from glute strength plus controlled rotation, so add lateral lunges once band walks feel easy.
How to progress safely. Add volume before intensity. Move from two sets to three before adding load, and add load before adding speed. Most athletes can advance every two to three weeks if they are consistent.
Evidence note. Programs that combine strength, balance, and landing mechanics have the strongest support in sports medicine literature for reducing non-contact joint injuries. Isolated stretching alone has weak support. That is why this section pairs strength with balance and control rather than flexibility alone.
Step 3: Use ACL Injury Prevention Exercises for Cutting and Landing Sports
ACL injury prevention exercises matter most in sports with sharp cuts and hard landings. Soccer, football, and basketball top that list.
The ACL is a ligament inside the knee. It stabilizes the joint during sudden stops and direction changes. Once torn, recovery takes months.
Three drills earn their place in every program:
- Zigzag drill: set cones five yards apart and cut sharply between them
- Single-leg hops: land soft, hold two seconds, repeat
- Lateral bounds: push off one leg and stick the landing on the other
Teach athletes to land with knees over toes, never caving inward. That single cue prevents a large share of non-contact knee injuries.
Step 4: Strength Training and Conditioning That Protect Joint Stability
Strength training builds the muscle armor around each joint. Conditioning builds the engine that keeps that armor working late in a game.
Joint stability comes from balanced strength. Athletes who train only the front of the body create imbalances that pull joints out of line.
Focus on these areas:
- Glutes and hip abductors for knee control
- Calves and ankle stabilizers for balance
- Core strength for whole-body control
- Hamstrings to balance powerful quadriceps
Cardiovascular exercise matters too. Tired athletes land badly. Interval work that mimics game pace prepares the body for real fatigue.
Step 5: Teach Proper Form, Technique, and Neuromuscular Control
Proper form is a skill, and skills need coaching. Neuromuscular control means the brain and muscles talk clearly under pressure.
Correct technique turns a risky landing into a safe one. It also builds confidence, and confident athletes move better.
Coaches should watch for:
- Knees collapsing inward on landings
- Stiff, locked ankles on impact
- Rounded backs during lifts
- Heavy, flat-footed stops
Corrective exercise fills the gaps. If an athlete keeps landing stiff-legged, add ankle mobility work and soft-landing drills. Small fixes compound over a season.
Step 6: Monitor Training Load and Progress Gradually
Gradual progression is the least glamorous injury prevention tool and the most effective. Sudden spikes in workload drive most overuse athlete joint injuries, and the fix is not to train less, it is to train in a way you can actually measure.
Pick one simple load metric. You do not need a wearable to start. Choose one number you can record in under a minute after each session:
- Session duration in minutes, multiplied by a perceived effort score from 1 to 10 (a common approach called session-RPE)
- Jump count for sports with repeated landings, such as volleyball or basketball
- Sprint or high-speed distance for field and court sports
- Total throws or overhead reps for throwing and racquet sports
Record the number daily. At the end of each week, add the daily values to get a weekly total. That single weekly number is your load baseline.
Apply a simple progression rule. A common pattern is to raise weekly load by no more than about ten percent over the previous week, and to avoid stacking two hard weeks back to back. After a break, illness, vacation, or the off-season, rebuild from roughly half of the prior baseline before returning to full volume. Bigger jumps raise injury risk, especially for joints that have not adapted to the load.
Use a three-signal check before each session. Ask the athlete three questions: How did you sleep? How sore are your joints compared with yesterday? How energetic do you feel? If two of the three are poor, cut the planned load by roughly a third and keep technique work in. This is faster than any app and catches problems before they become injuries.
Watch for these warning signs:
- Joint pain that lingers past 48 hours
- Swelling after practice
- A drop in performance or confidence
- Trouble sleeping after hard sessions
- A weekly load jump well above the ten percent guideline
Any of these means back off, not push through. Overtraining turns a minor strain into a season-ending problem.
Escalation and return-to-play. If joint pain persists beyond a few days, or if there is swelling, locking, or giving way, stop the activity and get a clinical assessment from a physician or athletic trainer.
Why this matters for joints specifically. Tendons and joint cartilage adapt more slowly than muscle. An athlete can feel strong while joint tissue is still catching up, which is why load tracking catches problems that feel-based coaching misses.
Step 7: Support Sports Recovery and Joint Health All Season
Sports recovery and joint health deserve the same attention as training itself. Recovery is when the body rebuilds and joints repair.
Sleep is the foundation. Most athletes need eight to ten hours. Nutrition comes next: protein for repair, colorful produce for inflammation control, and enough calories to fuel growth.
Hydration keeps joints lubricated and muscles firing. Water before, during, and after practice covers most needs.
Protective equipment and footwear matter too. Worn-out shoes change landing mechanics. Loose braces fail to support. Check gear every few weeks.
The training surface belongs on that list. A durable, impact-absorbent floor reduces the daily pounding that wears joints down. Glory and Power Enterprises designs sprung flooring for gymnastics, cheer, dance, and martial arts programs, with secure fastening systems built to hold up through a full competitive season.
Conclusion
Joint injuries rarely come from one bad moment. They build from skipped warm-ups, sudden load spikes, and worn-out equipment. A seven-step plan, applied every week, keeps athletes healthy through the season.
Glory and Power Enterprises supports that plan from the ground up. Its two-layer Baltic birch spring floors, power springs with bolt and thread-locker fastening, and customizable shipping options give gyms and schools a surface built for safe, confident training. Financing options are available for programs that need to spread the investment.
Get started with Glory and Power Enterprises and give every athlete a floor that protects joints as hard as they train.
Frequently Asked Questions
How can athletes prevent joint injuries during practice?
Athletes prevent joint injuries by following a consistent routine: a dynamic warm-up before every session, strength training two to three times per week, and sport-specific drills that teach proper landing and cutting mechanics. Add balance and single-leg work to build neuromuscular control, and increase training volume gradually rather than in sudden jumps. Wearing appropriate footwear and training on surfaces that absorb impact, such as a properly constructed sprung floor, also reduces stress on knees and ankles.
Which joint injury prevention exercises should every athlete do?
A practical baseline includes single-leg balances, lateral band walks to strengthen the hip abductors, bodyweight squats, calf raises, and controlled landing drills from a low box. These joint injury prevention exercises target the knee, ankle, and hip, which carry most sports injury risk. Perform them two to three times per week, starting with two sets of eight to twelve reps and adding difficulty as control improves. Consistency matters more than volume.
Can strength training help prevent joint injuries?
Yes. Strength training builds the muscle support around the knee, ankle, and shoulder, which improves joint stability and joint integrity during sport. Focus on compound movements like squats, lunges, and step-ups, plus hip abductor work for knee alignment. Two sessions per week is enough for most athletes. Pair strength work with mobility and flexibility training so joints move through a full range without stiffness.
When should an athlete seek medical care for joint pain?
Seek medical care when joint pain persists beyond a few days, comes with swelling, locking, or instability, or limits normal movement. A pop or giving-way sensation during play, especially in the knee, warrants prompt evaluation. Early assessment matters because untreated joint injury can escalate into chronic problems. Return to play only after a clinician clears the athlete, and rebuild training load gradually rather than jumping back to full intensity.