 how-to
How to Install Sprung Floors in Gyms: Step-by-Step
Table of Contents
- Understanding Sprung Floor Systems for Gyms
- Gym Sprung Floor Subfloor Preparation: Foundation Essentials
- Measuring and Planning Your Gym Floor Area
- Gym Floor Installation Tools You'll Need
- Step-by-Step Installation Process for Sprung Floors
- Sprung Floor Installation Time: Project Timeline and Phases
- Sprung Floor Safety Inspection After Installation
- Common Installation Mistakes and How to Avoid Them
- Frequently Asked Questions
Last Updated: October 18, 2026
Understanding Sprung Floor Systems for Gyms
A sprung floor is a specialized flooring system designed to absorb impact and reduce stress on athletes' joints during training and competition, making sprung floors gyms rely on for athlete safety and performance. The system combines multiple layers, typically a subfloor, foam cushioning, and a top playing surface, with springs or resilient supports underneath.
Sprung floors are essential for gymnastics facilities, cheerleading gyms, martial arts studios, and dance training centers. The two-layer Baltic birch construction used in professional-grade sprung floors provides durability and consistent performance. Glory and Power Enterprises manufactures competition-level sprung floors with advanced power springs and secure fastening systems designed for facilities that demand reliability and athlete safety.
The difference between a basic rubber floor and a true sprung floor system comes down to shock absorption and athletic performance, which is why sprung floors gyms install provide superior protection compared to basic surfaces. A proper sprung floor reduces impact forces by up to 40% compared to concrete or basic rubber surfaces. This matters because it directly affects injury prevention and training effectiveness.
Gym Sprung Floor Subfloor Preparation: Foundation Essentials
Your subfloor is the foundation of everything above it. A weak or uneven subfloor will compromise your entire sprung floor system, causing performance issues and safety concerns. Before installing any sprung floor panels or springs, the subfloor must be inspected, tested, and prepared to exacting standards.
Inspecting and Testing for Moisture
Moisture is the enemy of sprung floors. Excess moisture causes wood to swell, foam to deteriorate, and fastening systems to fail. Begin by checking for visible signs of water damage, stains, or mold. Look for discoloration, soft spots, or areas where the concrete feels damp to the touch.
Use a moisture meter to test the concrete subfloor. The reading should be below 3 pounds per 1,000 square feet per day (measured as calcium chloride equivalent). If moisture levels exceed this threshold, the subfloor must dry or be sealed before installation proceeds. This typically requires running dehumidifiers or moisture barriers for several days.
Check the gym for active water intrusion or drainage issues. Inspect around doors, windows, and any below-grade sections. If water is entering the space, address the source first, no flooring system will survive ongoing moisture problems.
Leveling and Tolerance Standards
The subfloor surface must be level within a tolerance of 1/8 inch over a 10-foot span. This tolerance is critical for sprung floor performance. Even small variations cause uneven spring compression, which leads to soft spots, movement, and accelerated wear.
Use a long straightedge (10 feet minimum) to check for high and low spots. Mark areas that exceed tolerance. High spots can be ground down using a concrete grinder. Low spots may require self-leveling concrete or shims during installation.
Test the entire floor area systematically. Move the straightedge in multiple directions and check both diagonals. Document any problem areas with photos and measurements. This inspection becomes part of your installation plan.
Measuring and Planning Your Gym Floor Area
Accurate measurements are non-negotiable. An error of even a few inches throws off your material ordering and installation layout. Measure the entire gym floor area carefully, then add 5% to your calculations for waste and cutting.
Measure length and width at multiple points (beginning, middle, and end of each dimension). Use a 100-foot tape measure for accuracy. Record all measurements and calculate the total square footage. For an irregularly shaped gym, break the space into rectangles, measure each section, and add the totals.
Create a scaled drawing of your gym layout on graph paper or using basic design software. Mark doorways, equipment areas, and any permanent fixtures. This drawing guides your installation pattern and helps you plan panel layouts, seam locations, and transitions.
Identify where seams will fall. Stagger seams rather than creating continuous lines across the floor, this strengthens the overall structure and improves aesthetics. Plan for transitions at doorways and edges where the sprung floor meets other surfaces.
Gym Floor Installation Tools You'll Need
Installing sprung floors requires specialized tools. Using the wrong tools wastes time, damages materials, and produces poor results. Here's what you need:
- Tape measure (100-foot minimum) for accurate floor measurements
- Straightedge (10 feet) for checking subfloor level
- Circular saw or track saw for cutting panels and foam blocks
- Pneumatic nailer or fastening system specific to your floor type
- Adhesive spreader or notched trowel for applying foam adhesive
- Caulk gun for sealing seams and transitions
- Moisture meter for testing subfloor conditions
- Dehumidifier if moisture levels are elevated
- Safety equipment: gloves, dust mask, eye protection, knee pads
Rent specialized tools rather than buying them if you lack experience. A pneumatic nailer designed for flooring installation ensures consistent fastening depth and prevents over-driving fasteners.
Have all tools on-site and tested before materials arrive. A missing tool or equipment failure mid-installation creates costly delays.
Step-by-Step Installation Process for Sprung Floors
Acclimating Materials and Assembling Spring Components
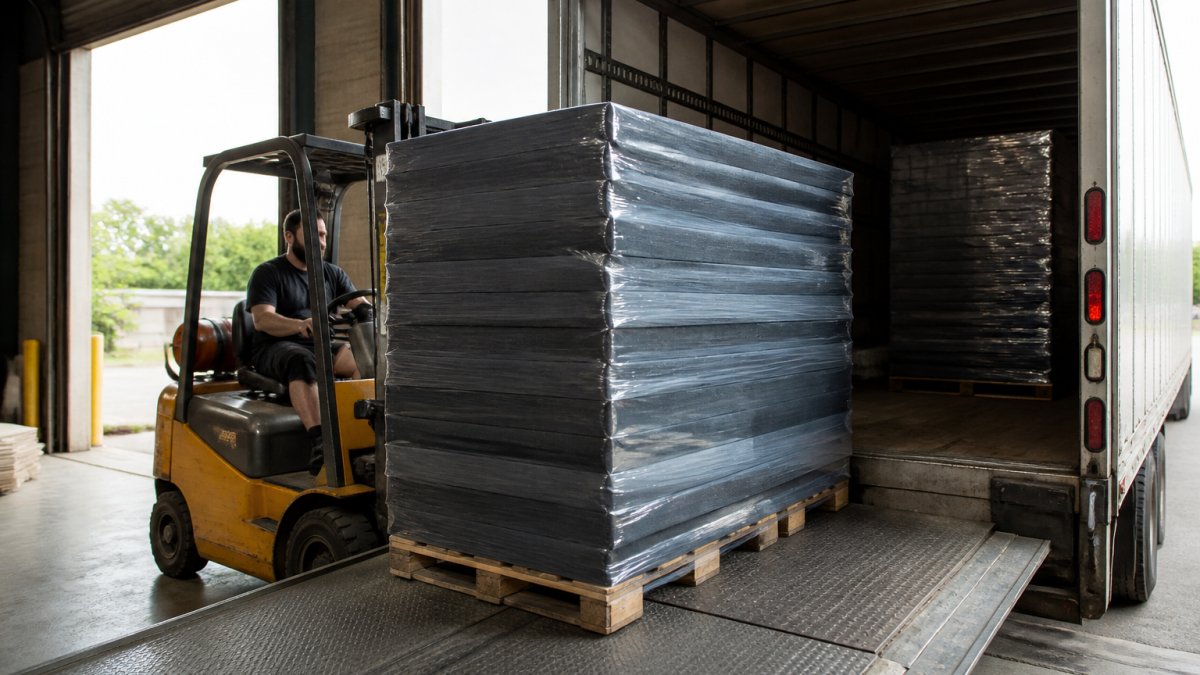
Before installation begins, acclimate your materials to the gym environment for at least 48 hours. Leave panels, foam blocks, and springs in the space with doors and windows closed. This allows materials to adjust to temperature and humidity, preventing expansion or contraction after installation.
While materials acclimate, assemble your spring components according to manufacturer specifications. Lay out power springs, fastening bolts, and thread-lockers. Verify that all components are present and undamaged. Check bolt threads for debris or damage.
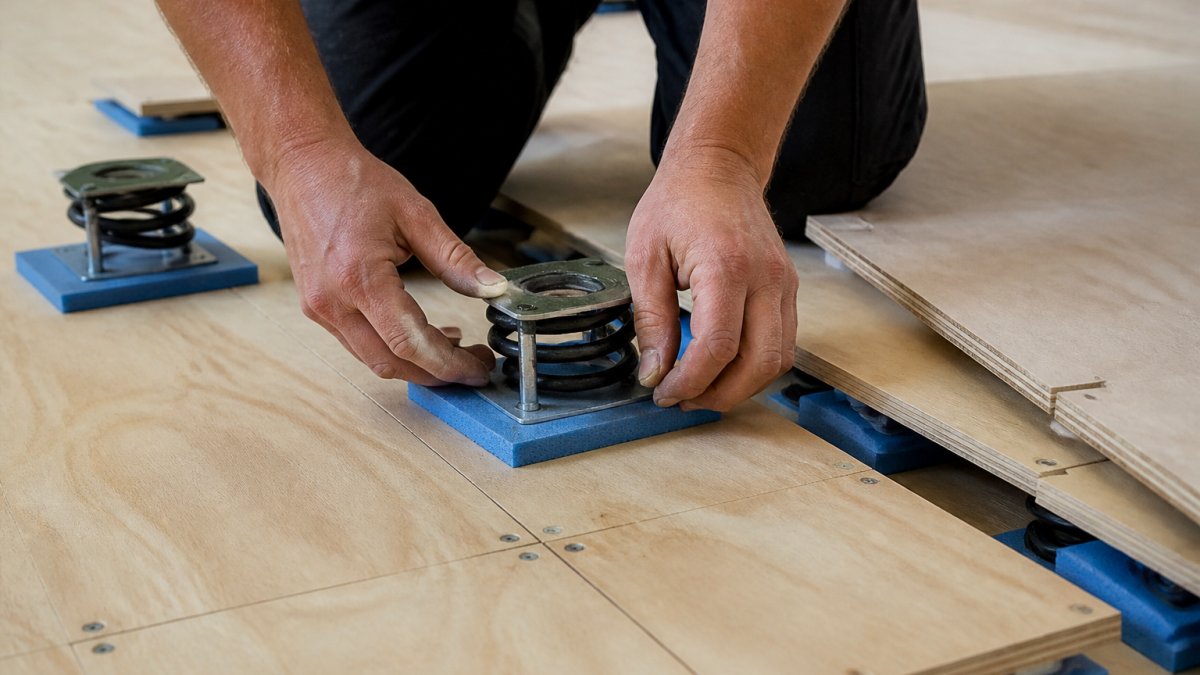
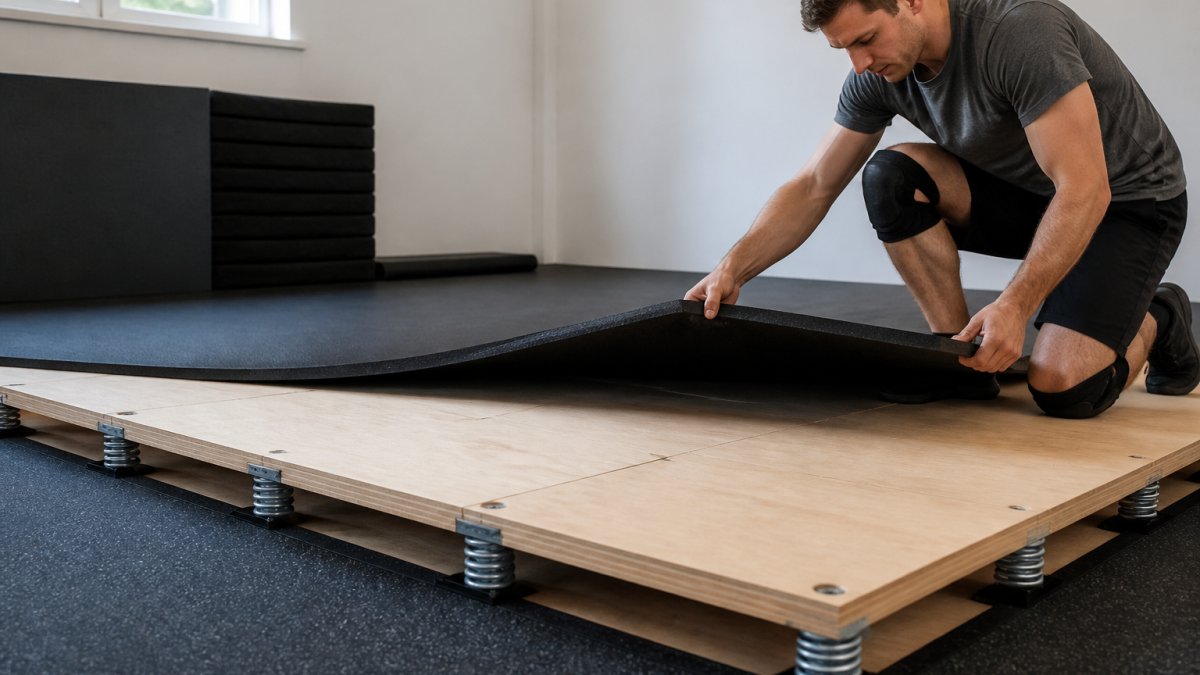
Position foam blocks on the subfloor in a grid pattern. Spacing depends on your system design, typically 12 to 24 inches apart. Ensure blocks sit flat and level. Use shims to correct any subfloor irregularities before securing blocks.
Attach power springs to the foam blocks using the bolt and thread-locker system. Tighten bolts firmly but do not over-torque. Thread-lockers prevent bolts from loosening under repeated impact. Verify that springs are perpendicular to the floor.
Laying Panels, Securing Seams, and Fastening
Begin laying panels from one corner of the gym. Position the first panel carefully, this sets the alignment for all subsequent panels.
Apply hook and loop fastener strips along panel edges.
Lay the second panel adjacent to the first, pressing the hook and loop fasteners together. Continue this pattern across the floor, working row by row.
As you install each panel, check for gaps and uneven surfaces. Use a straightedge to verify flatness. Adjust panels if needed before moving to the next section.
Secure panels to the spring system using the fastening method specified by your floor manufacturer. Some systems use adhesive, others use fasteners driven through panels into springs.
Cut panels to fit around doorways and edges using a circular saw with a fine-toothed blade. Measure twice before cutting. Sand cut edges smooth to prevent splinters and ensure proper sealing.
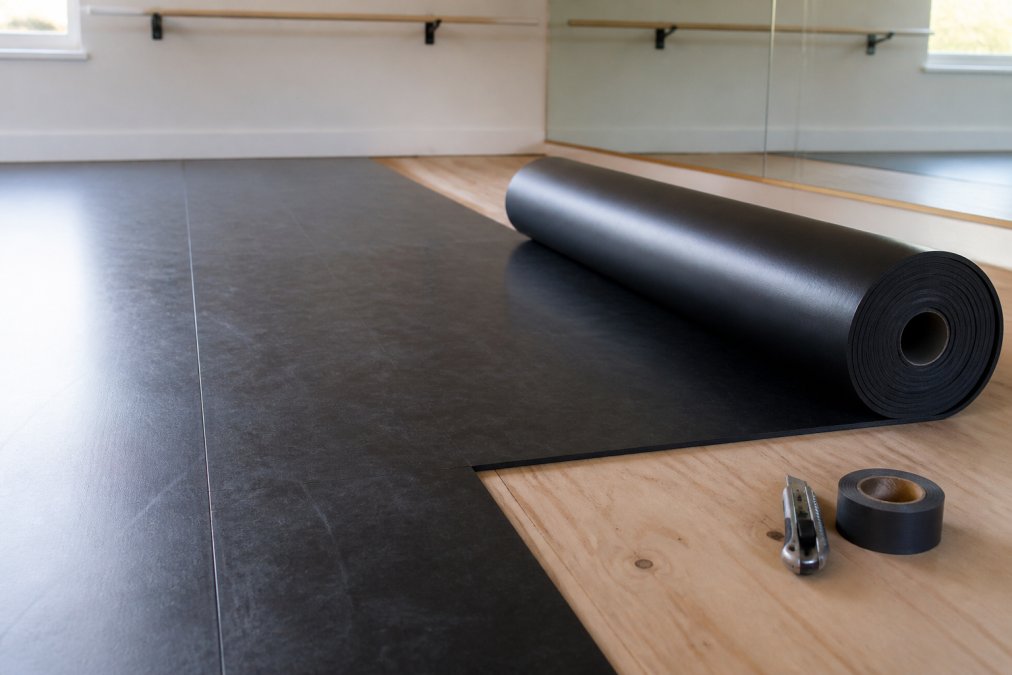
Apply adhesive or sealant along seams according to manufacturer instructions. Proper sealing prevents debris from entering gaps and maintains the floor's integrity. Allow adhesive to cure fully before the gym is used.
Sprung Floor Installation Time: Project Timeline and Phases
Installation timeline depends on floor size, complexity, and crew experience. A typical installation follows this sequence:
Phase | Task | Duration |
|---|---|---|
Preparation | Subfloor inspection, moisture testing, leveling | 1-2 days |
Material Acclimation | Allowing panels and foam to adjust to environment | 2-3 days |
Spring Assembly | Installing foam blocks and power springs | 1-2 days |
Panel Installation | Laying and fastening panels | 2-4 days |
Finishing | Sealing seams, transitions, final inspection | 1 day |
A 2,000-square-foot gym typically requires several working days for complete installation. This timeline assumes a trained crew and no major subfloor issues. Moisture problems, uneven subfloors, or complex layouts extend the timeline significantly.
Plan installation during a time when the gym can be closed. Most facilities schedule installation during off-season or during a scheduled facility closure. Coordination with athletes, coaches, and facility staff is essential to minimize disruption.
Sprung Floor Safety Inspection After Installation
After installation is complete, perform a comprehensive safety inspection before the gym opens. This inspection verifies that the floor meets performance standards and is safe for athlete use.
Check all seams and transitions for gaps, raised edges, or movement. Press down on seams with your hand, they should feel solid and not flex or move.
Test the floor's shock absorption by jumping or dropping a weighted object from a consistent height. The floor should feel responsive and consistent across the entire surface.
Inspect all fastening systems, bolts, and adhesive seals. Verify that no fasteners are loose or protruding. Check that thread-lockers are present and secure on all bolts.
Walk the entire floor in different patterns, straight lines, diagonals, and around edges. Listen for squeaks, creaks, or other sounds indicating movement or loose components.
Test transitions at doorways and edges. Verify that the floor meets other surfaces smoothly without gaps or raised edges. Seal any gaps with appropriate sealant to prevent debris accumulation.
Document the inspection with photos and written notes. This record becomes part of your facility's maintenance file and proves the floor was properly installed and inspected.
Common Installation Mistakes and How to Avoid Them
Skipping Subfloor Preparation: Many installers rush to lay panels without properly inspecting and preparing the subfloor. This leads to uneven surfaces, spring failure, and premature wear.
Ignoring Moisture Issues: Moisture is the primary cause of sprung floor failure.
Improper Spring Assembly: Springs must be perpendicular to the floor and properly fastened. Tilted springs or loose fasteners cause uneven performance and safety hazards.
Misaligned Panels: Panels that are not properly aligned create gaps, raised edges, and uneven surfaces. Take time to position each panel carefully.
Inadequate Seam Sealing: Gaps in seams allow debris to accumulate and compromise floor integrity. Apply adhesive or sealant according to manufacturer specifications.
Rushing Material Acclimation: Materials that have not acclimated to the gym environment expand or contract after installation, causing movement and performance issues.
Poor Planning and Layout: Inadequate planning leads to wasted materials, improper seam placement, and installation delays.
Installing a sprung floor system in a gymnasium requires careful planning, proper preparation, and attention to detail.
Glory and Power Enterprises manufactures professional-grade sprung floors with two-layer Baltic birch construction and advanced power springs designed specifically for competitive athletics.
Frequently Asked Questions
What subfloor is needed for a sprung gym floor?
A sprung floor requires a structurally sound concrete or plywood subfloor that is level within 1/8 inch per 10 feet. The subfloor must pass moisture testing (calcium chloride test below 3 lbs per 1,000 sq ft for concrete). Many gyms use a moisture barrier and leveling compound to prepare the surface before installing foam blocks and springs. Proper subfloor preparation prevents movement, squeaking, and premature wear on your floor system.
How long does it take to install a sprung gym floor?
Installation time depends on the floor area, complexity, and crew size. This includes subfloor preparation, material acclimation, spring and panel assembly, and final inspection. Larger facilities or complex layouts may extend the timeline. Professional installation crews can often complete projects faster than DIY teams due to experience and coordinated labor.
Can you install a sprung floor over concrete?
Yes, you can install a sprung floor over concrete, but the concrete must be properly prepared. It must be clean, dry, level within tolerance, and pass moisture testing. Apply a moisture barrier if needed, then install foam blocks and springs according to the system specifications. Concrete provides a stable base when prepared correctly, making it a common choice for gym installations. Never install directly on wet or uneven concrete, as this compromises floor performance and durability.
What tools are needed to install sprung gym flooring?
Essential gym floor installation tools include a level (laser level recommended for accuracy), tape measure, circular saw or table saw for cutting panels, drill with bits, socket set for fastening bolts and thread-lockers, stud finder, moisture meter, and safety equipment (gloves, eye protection). You'll also need a mallet or rubber hammer for fitting panels, spacers for consistent gaps, and a straightedge for checking panel alignment. Professional crews may use additional equipment like floor scrapers and pneumatic tools for efficiency.