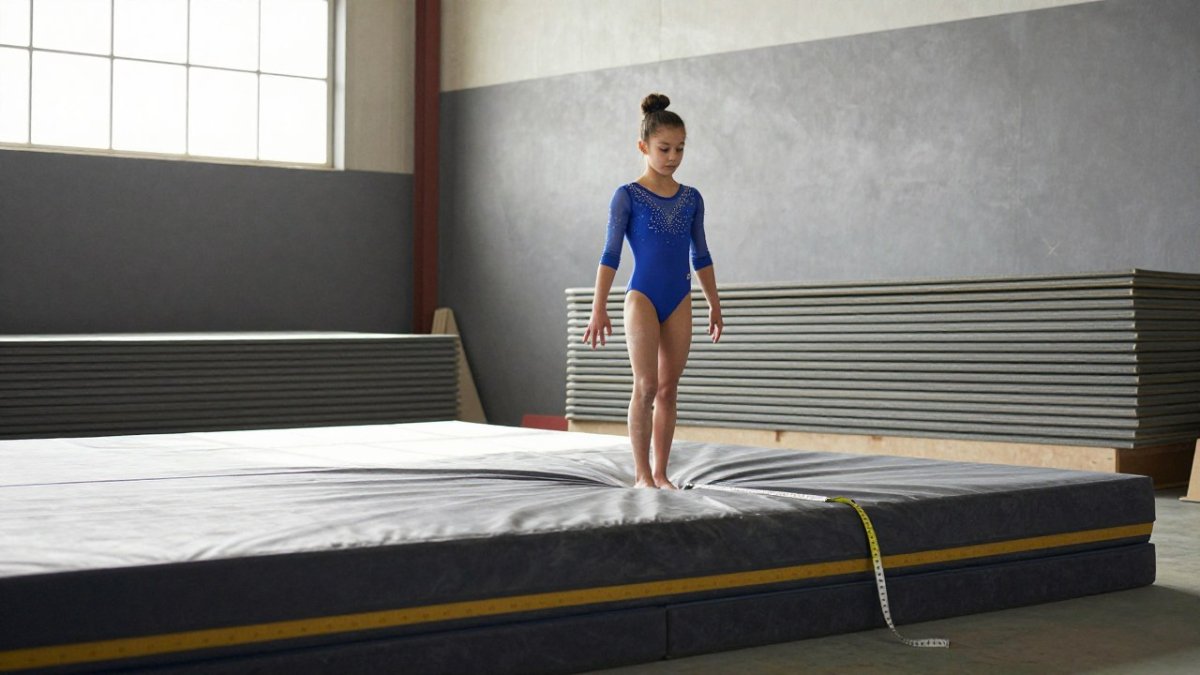
 How-to
Why Gym Floor Springs Fail and How to Spot It Early
Last Updated: November 5, 2026
Quick Summary
Gym floor springs usually fail from lack of maintenance, or from moisture and humidity that corrode the metal coils. Early signs include a dead or soft spot that does not rebound, uneven bounce, a panel sitting higher or lower than its neighbors, popping sounds, and visible rust.
- Check the affected zone by mapping soft spots on the floor before lifting panels.
- Replace the disconnected springs when dead spots are found.
- Many manufacturing companies do not use a bolt to hold the retainer cap and spring.
- Some manufacturers manufacture a 1 layer floor instead of a two layer floor. A one layer floor is useful for competitions however it has 20% weakness on each board.
- Two layer floors protect the cantilever of each board. One layer floors have exposed sections in between the H-channels that allows for boards to crack or shear with repeated use.
- Our 12 year warranty is because we use threadlocker on the bolt that holds the cap. The glue ensures that the bolt stays tight into the Tnut, when the cap is tight, then the spring stays on the board.
- When there is not glue on the bolt to screw the springs will pop out of the cap. This is a weak point of the spring floor for
- Inspect the perimeter, and retainer caps.
- Call a qualified installer for shifted channels, widespread corrosion or repairs that keep returning.
Table of Contents
- How Spring Floors Are Built and Why Springs Carry the Load
- Common Causes of Gym Floor Spring Failure
- Symptoms That Point to a Failed Spring
- Step-by-Step Diagnostic Process for Locating Failed Springs
- Gymnastics Spring Floor Maintenance: A Preventive Schedule
- Repair or Replacement: Decision Criteria and Spring Floor Lifespan
- Scheduling Your Next Inspection or Floor Assessment
- Frequently Asked Questions
How Spring Floors Are Built and Why Springs Carry the Load
Why do gym floor springs fail in the first place? Most failures start with a spring that was asked to do too much for too long.
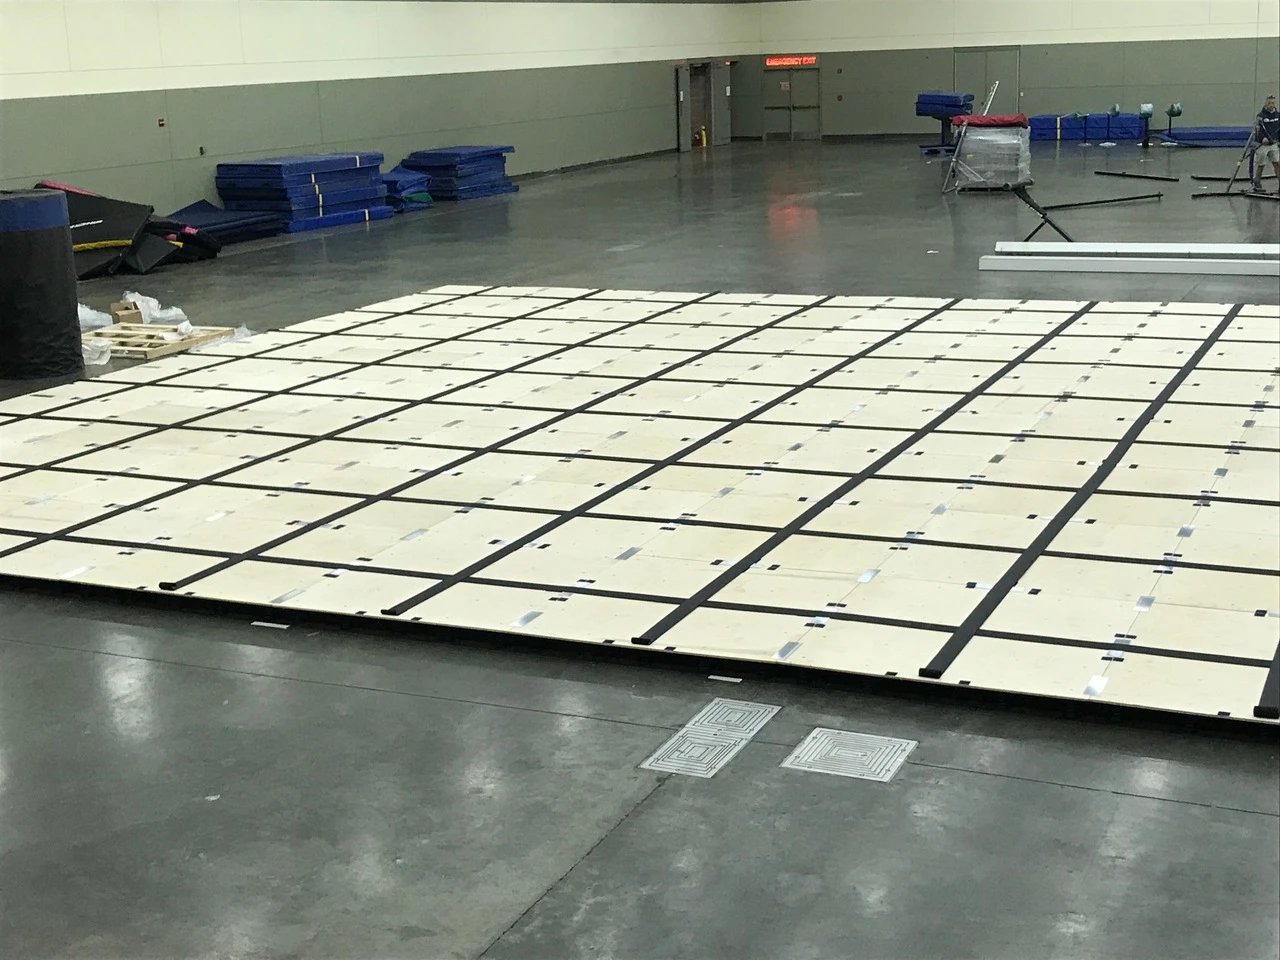
A typical competition spring floor uses a two-layer Baltic birch base, with power springs secured to the subfloor. Readers can see a complete competition spring floor configuration for comparison.
The springs take the impact when athletes land. They then return energy to the surface, which gives the floor its bounce.
- Springs absorb and return energy with every landing
- Retainer caps and thread-locker keep each spring in place
- A single failed spring pushes extra load onto nearby springs
Common Causes of Gym Floor Spring Failure
Several forces wear down a spring floor over time. Most gyms see two or three of them working at once. The two most common causes are listed below.
Spring fatigue and repeated heavy impact
Every spring has a fixed load rating. Repeated heavy landings, especially from the same spot, slowly fatigue the steel. Fatigue rarely causes a sudden break. Instead, the spring loses its snap, and the floor feels dead in that area.
Moisture, humidity and corrosion
Moisture is the quiet enemy of spring floors. High humidity or a small leak can reach the metal springs and start corrosion. Rust weakens the coil and can freeze the spring in place.
The article names two main causes of spring failure, each with a distinct symptom pattern and fix.
Cause | How it shows up | What to check |
|---|---|---|
Spring fatigue and repeated heavy impact | Floor feels dead in one area; loses its snap | Heavy landings from the same spot |
Moisture, humidity and corrosion | Rust weakens the coil and can freeze the spring | Perimeter and areas under any water source |
Symptoms That Point to a Failed Spring
Early symptoms are easy to miss. Watch for these signs:
- A dead or soft spot that does not rebound like the rest of the floor
- An uneven bounce when athletes move across the same area
- A panel that sits higher or lower than its neighbors
- A popping or clicking sound under load
Any of these signs deserves a closer look. Catching a failing spring early keeps the repair small and the floor safer for athletes.
Step-by-Step Diagnostic Process for Locating Failed Springs
A step-by-step approach can help identify the failed spring, distinguish it from a bad channel or panel, and decide what to do while you investigate. Work through the steps in order, and stop and restrict access the moment you find a defect you cannot explain.
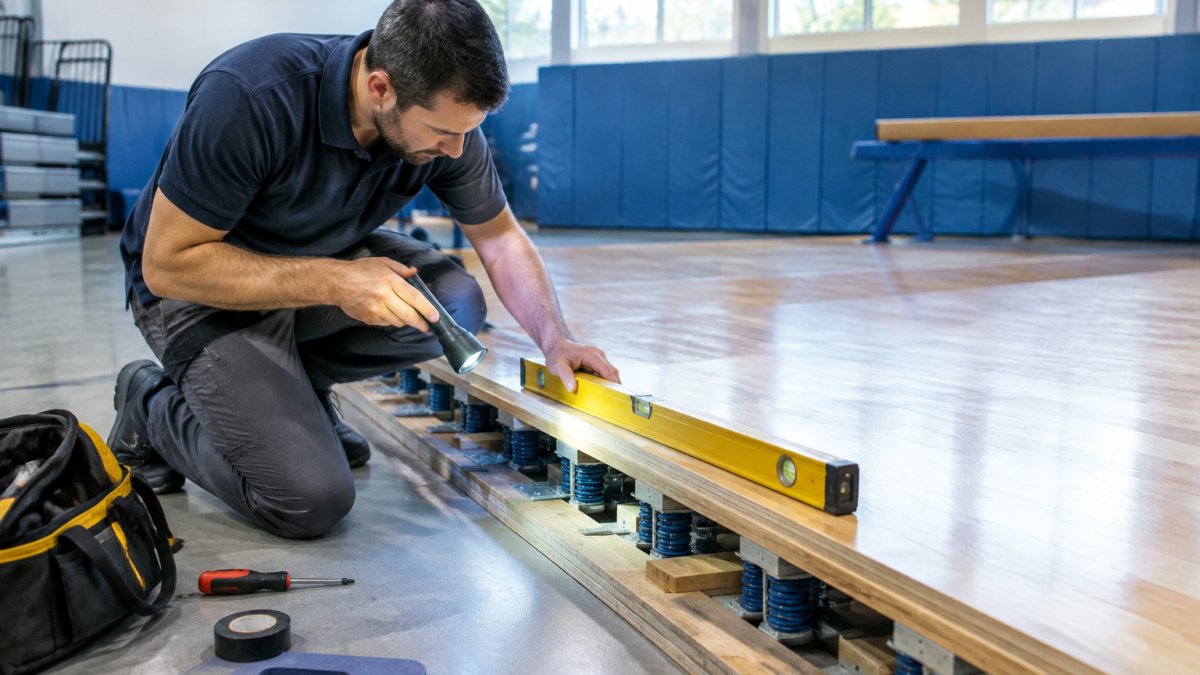
Before you start: safety and access
Restrict the affected area before you touch anything. Rope off or cone the zone, post a sign, and keep athletes off it until the defect is assessed.
You will need: a tape measure, painter's tape, a clipboard or phone for notes, a flashlight, a socket set that matches your retainer hardware, and a straightedge.
Step 1: Map the symptom before you lift anything
Walk the floor in a grid pattern and compare each zone to a known-good section. For a comparison of symptoms and fixes, see how to fix dead spots in floors. Note where the floor feels dead, where it feels unusually lively, and where you hear noise. Record the location by panel and by distance from a fixed reference such as a wall or corner.
Step 2: Separate spring symptoms from system symptoms
A soft spot is not automatically a spring problem. Use this symptom-to-cause map to narrow it down before you disassemble anything:
- Dead or soft spot in one small area, usually a fatigued or broken spring, or a spring that has come off its retainer.
- Soft spot that runs in a line, often a shifted or bent channel, or a strap that has loosened, rather than a single spring.
- Panel sits high or low at a seam, panel or subfloor issue, or a spring that is not seated square in its retainer.
- Popping or clicking under load, a loose bolt, a retainer cap that has backed off, or a spring rubbing against a channel.
Step 3: Inspect springs individually
Lift the panel edge where access allows and check each spring in the affected zone. Look for a broken coil, a bent or cocked spring, a spring that no longer sits square on its retainer, a loose or missing bolt, and rust or pitting.
Watch out: never test a spring by standing or bouncing directly on an exposed spring or open panel edge, the surface can shift or collapse under a foot.
Step 4: Check the parts around the spring
A spring rarely fails alone. Check the channel for bending or shifting, the straps for slack, the panel for delamination or soft spots in the wood, and the subfloor for moisture staining or movement. If you need replacement parts, the spring assembly kit lists the components included with each spring.
Step 5: Document and compare
Record the panel location, the symptom, what you saw, and the date. Photograph anything unusual. Then compare your notes against the healthy sections of the floor. A pattern, the same corner, the same seam, the same area under a piece of equipment, usually points to the root cause faster than any single inspection.
Step 6: Decide the next action
If you found a single broken or displaced spring and the surrounding parts are sound, a targeted repair is reasonable. If you found shifted channels, widespread corrosion, or panel damage, stop and bring in a qualified installer before returning the floor to use. The decision criteria in the next section walk through that call.
Gymnastics Spring Floor Maintenance: A Preventive Schedule
Routine care prevents most failures. A simple schedule keeps problems from growing.
- Daily: Sweep the surface and check for debris or moisture.
- Weekly: Walk the floor and test for soft spots.
- Monthly: Inspect the perimeter, retainer caps, and any areas near water.
- Yearly: Have a qualified technician perform a full inspection.
A carpet-bonded surface can also help. Carpet bonded foam surfaces, such as those offered by Glory and Power Enterprises, can add surface protection. A carpet-bonded spring floor shows how this surface is built on the spring system. Pricing depends on quantity, dates, and delivery, so request a quote from Glory and Power Enterprises for current figures.
Repair or Replacement: Decision Criteria and Spring Floor Lifespan
Not every failed spring means a new floor, and not every soft spot is a small repair. The decision comes down to how many components have failed, whether the failure is contained, and whether the surrounding system is still sound. Use the criteria below to make the call, and bring in a qualified installer whenever the answer is not obvious.
When a targeted repair is the right call
A targeted repair makes sense when the failure is contained and the rest of the floor is healthy:
- One or a few springs have failed, and they are clustered in a single zone.
- The channels, straps, panels, and subfloor around the failure are sound.
- There is no sign of moisture intrusion or widespread corrosion.
- The floor still passes a walk test everywhere outside the affected zone.
In this case, replace the failed springs and any damaged retainers or hardware, re-torque the bolts, and re-test the zone against a healthy section before returning the floor to use.
When replacement is the better call
Broader replacement is usually the better decision when any of these are true:
- Failures are spreading across multiple zones or returning to the same spot after repair.
- Channels have shifted or bent, or straps have loosened across a wide area.
- The surface is worn through, delaminated, or no longer bonds to the panel.
- Moisture or corrosion has reached multiple springs or the subfloor.
- The floor is near the end of its expected service life and repairs are becoming frequent.
A common pattern is a gym that repairs the same corner every season. That is usually a sign the root cause, a shifted channel, a moisture path, or a load problem, was never addressed, and the springs are the symptom rather than the cause.
The repair-versus-replace math
Compare the cost of parts and labor for a targeted repair against the cost of a broader replacement, and weigh that against how much life the rest of the floor has left. A repair that buys one season on a floor already near the end of its life is usually money spent twice.
What drives spring floor lifespan
Lifespan is not a fixed number. It depends on:
- Use volume and load, heavily used gyms wear springs faster than lightly used ones.
- Load placement, equipment stored or placed on the floor concentrates load and accelerates fatigue.
- Moisture and humidity, the single biggest accelerant of corrosion and spring failure.
- Maintenance history, floors inspected on a schedule fail less often and less suddenly than floors inspected only after a problem appears.
- Installation quality, correct spacing, assembly, and torque at install determine how evenly the load is shared.
Plan for earlier and more frequent inspections in high-use gyms, in humid climates, and in any facility where water exposure is possible.
When to call a qualified installer
Call a qualified installer when you find shifted channels, bent or loose straps, panel or subfloor damage, widespread corrosion, or a failure that returns after repair. Also call when you are unsure whether the floor is safe to use. A qualified assessment is faster and cheaper than an athlete injury, and it gives you a documented basis for the repair-or-replace decision.
Keep the record
Whatever you decide, log the inspection date, the symptoms, the parts replaced, and the outcome. That record is what makes the next decision faster, and it is what a warranty claim or an installer assessment will ask for.
Scheduling Your Next Inspection or Floor Assessment
Do not wait for a visible failure. Set a recurring inspection on your calendar, and log every soft spot you find. If you see a pattern, contact Glory and Power Enterprises to talk through your options. A clear record makes every decision faster and safer for your athletes.
Frequently Asked Questions
Why do springs in a gym floor fail?
Most gym floor springs fail from fatigue after years of repeated landings, especially when loads exceed what the floor was designed for. Moisture and humidity can corrode the steel, and poor installation or loose fasteners can put uneven stress on individual springs. Heavy equipment dragged across the floor and inconsistent maintenance speed up the process. Regular inspection of bounce, panel alignment and channel condition helps catch failing springs before they cause a larger problem.
Can a gym floor spring be repaired or does it need to be replaced?
A single spring that has lost tension or cracked is often replaced individually, provided the surrounding springs and channels are still sound. If several springs show fatigue, or the floor has moisture damage, a full section or the entire system may need replacement. Repair is usually practical when the failure is isolated and the frame is intact. Replacement becomes the better choice when repairs are frequent or the floor no longer delivers consistent impact absorption.
How often should a sprung gym floor be inspected?
Inspect a sprung gym floor visually at least once a week and perform a more thorough check of springs, channels and fasteners every few months, or more often in high-use facilities. Log any changes in bounce or sound so you can track trends. Check after major events, heavy equipment moves or water exposure. Consistent records make it easier to decide when repair or replacement is warranted.
Can moisture cause gym floor springs to fail?
Yes. Moisture and humidity promote rust on steel springs and can weaken the wood components and adhesives in the floor assembly. Water that reaches the subfloor often goes unnoticed until bounce becomes uneven or panels start to shift. Keep the training area dry, fix leaks promptly and monitor humidity levels, particularly in facilities without climate control.